
Today I share with you this interior experience, an interior living room.
The scene was downloaded from this superb profile on facebook : Đat Houzz
- Please note that Projects and models saved in version 10.5 cannot be opened in older versions of Lumion.
- Discover the new features of Lumion 10.5 here.
Too many users ask the question: How to reach a realistic result with Lumion?
The answer of this question is that are three important points to consider:
- Materials settings.
- Image Composition.
- Lighting and Effects.
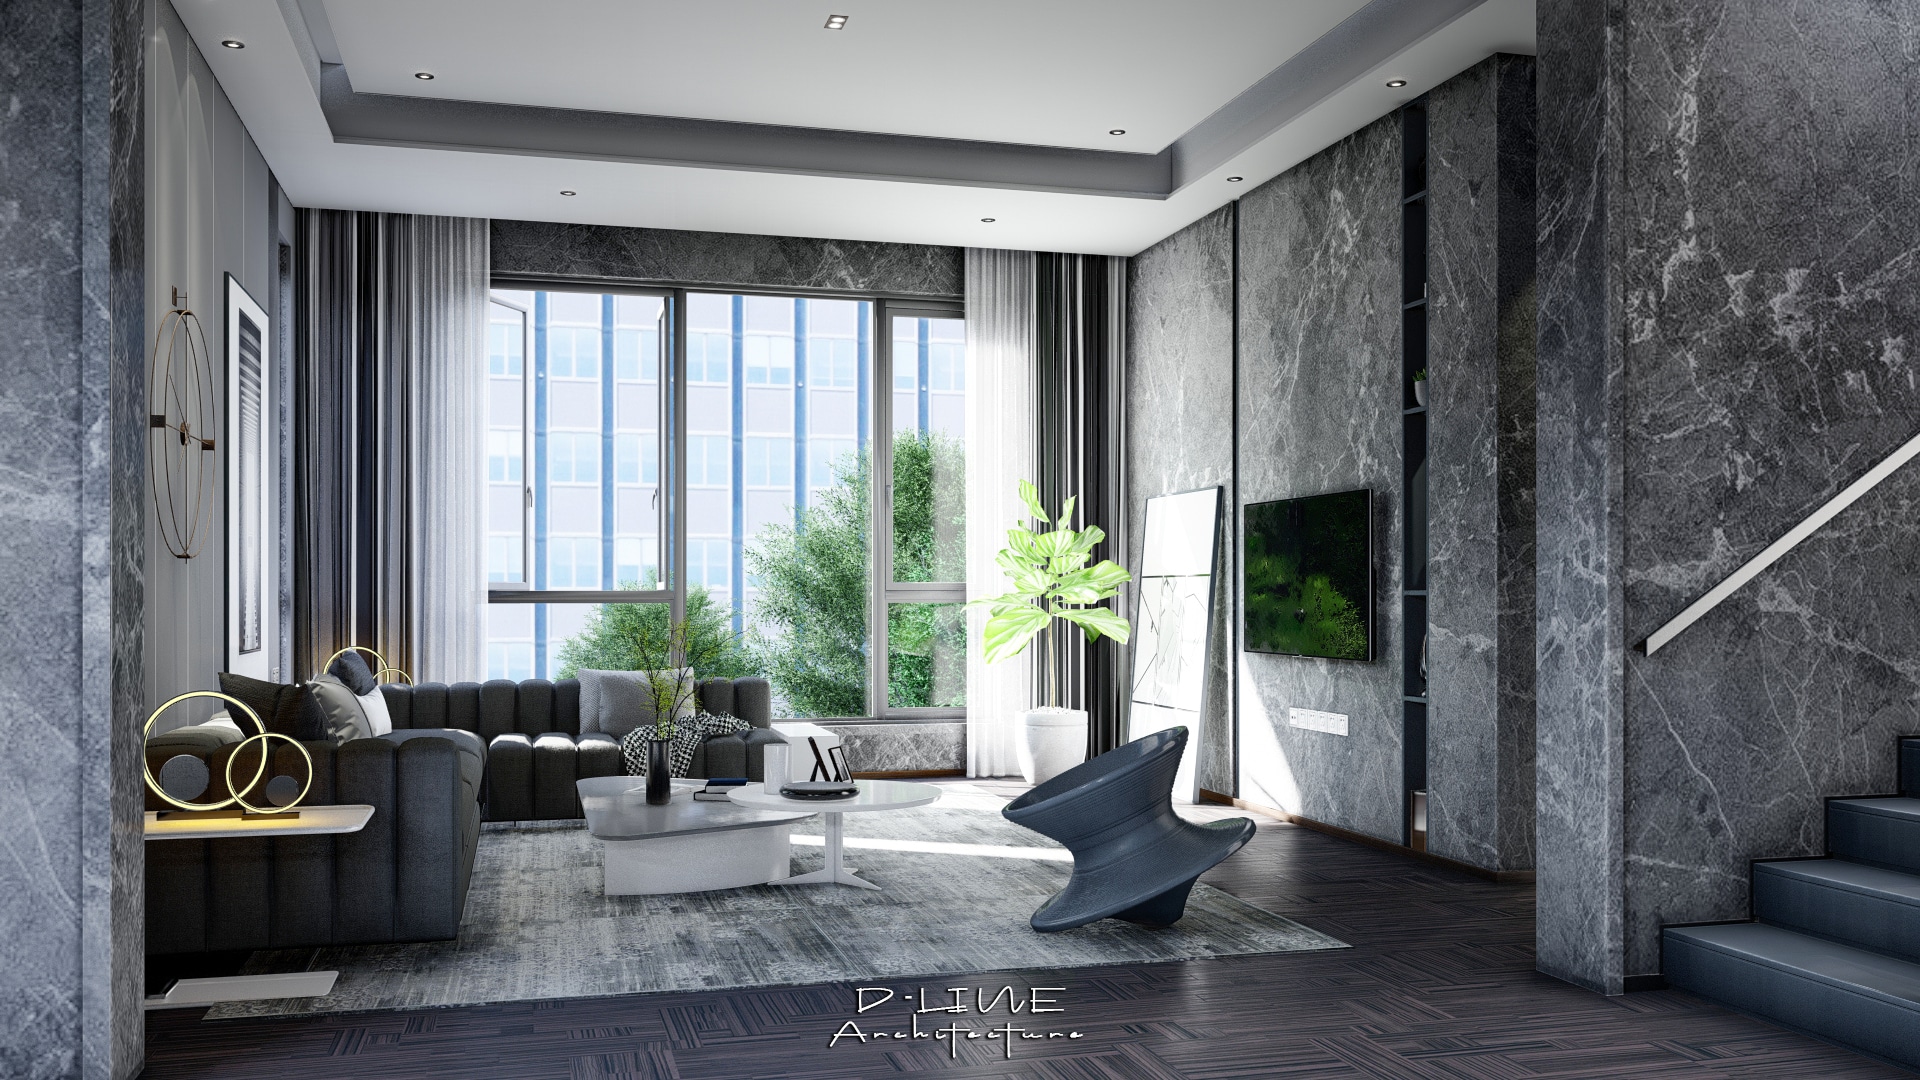
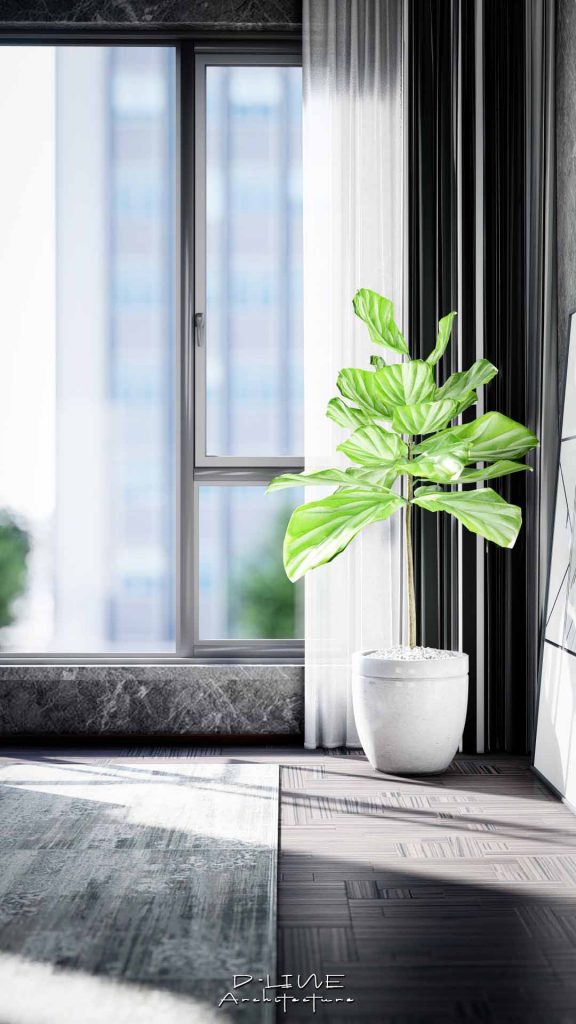
Using the handheld camera FX give you the possibility to capture a very nice composed shots.
Default Template Importing Model
Personally for interior render i use the white template for any interior new project. It help to generate nice global illumination. If we use any other template we can face green colors when adding GI effect.

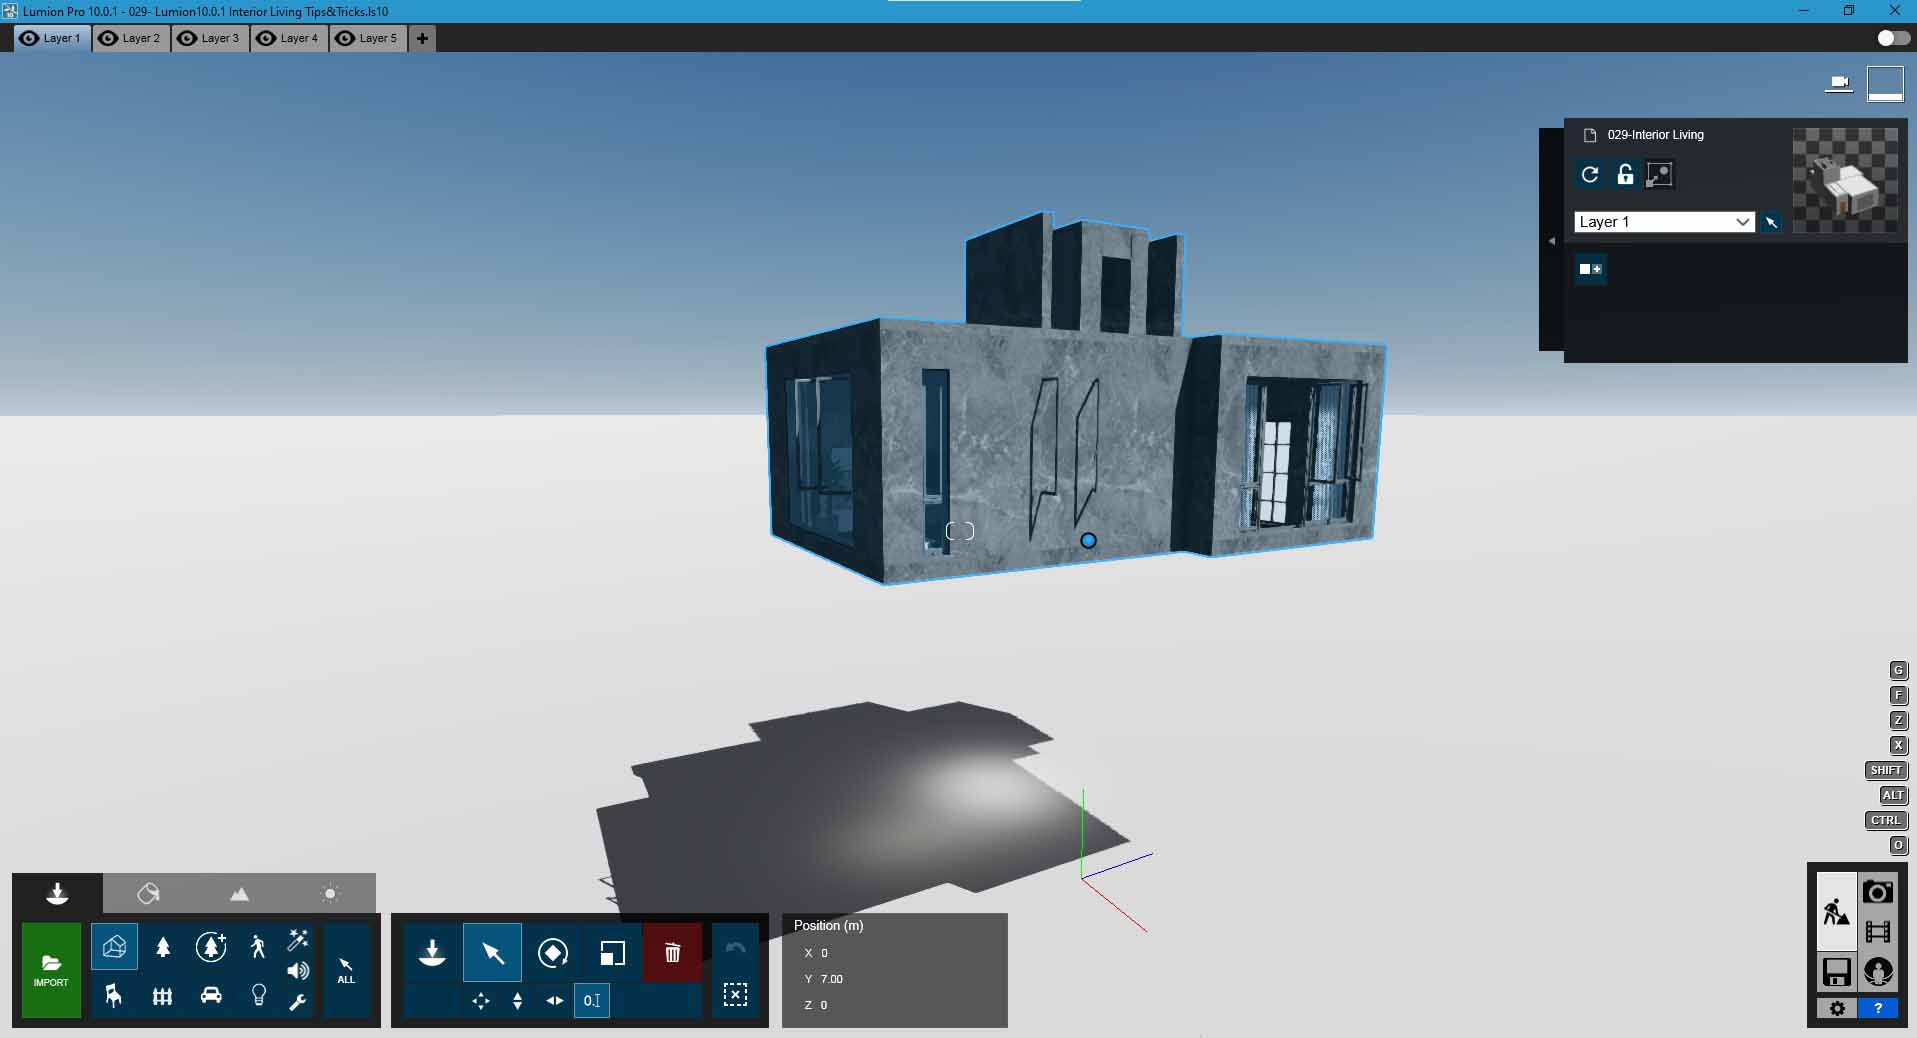
For this interior living room and after Importing the model, I put the height of the model at min 3m to 7 m, it allow to edit and set better the global illumination.
Curtain Materials
For Curtain material, i used the Curtain 04 from Lumion Indoor library, just edited little the weathering to 0.1 value.
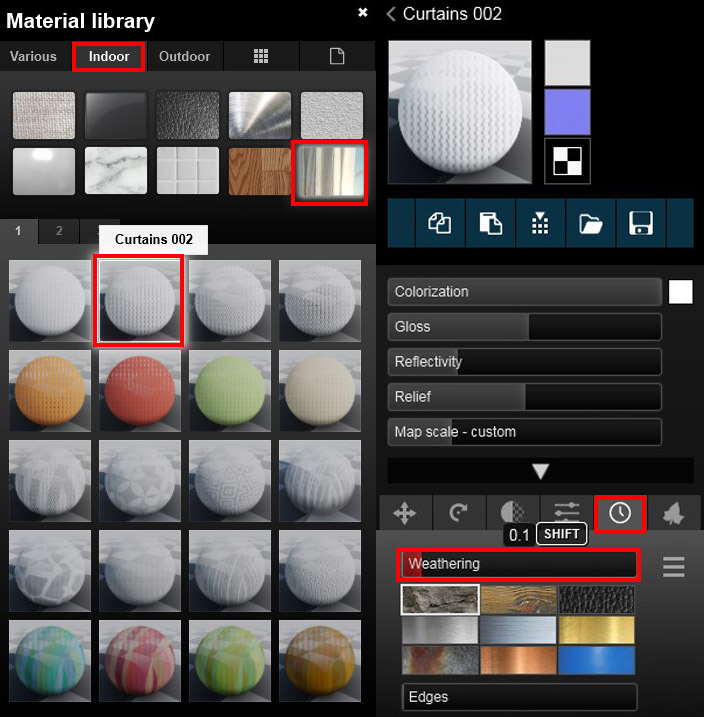
Advanced Material Settings: Weathering
In all materials, i used weathering to give more realistic quality. It’s very important setting, you have to adjust it depending on the desired result.
Note: The value i used is my own choice, you can adjust it depend on the result you want. Higher value are not recommended.
Advanced Material Settings: Edge
In some materials, i edited Edge setting, it help to give more realistic result.
Note: The value i used is my own choice, you can adjust it depend on the result you want. Higher value are not recommended.
Image Composition: Rule Of Thirds
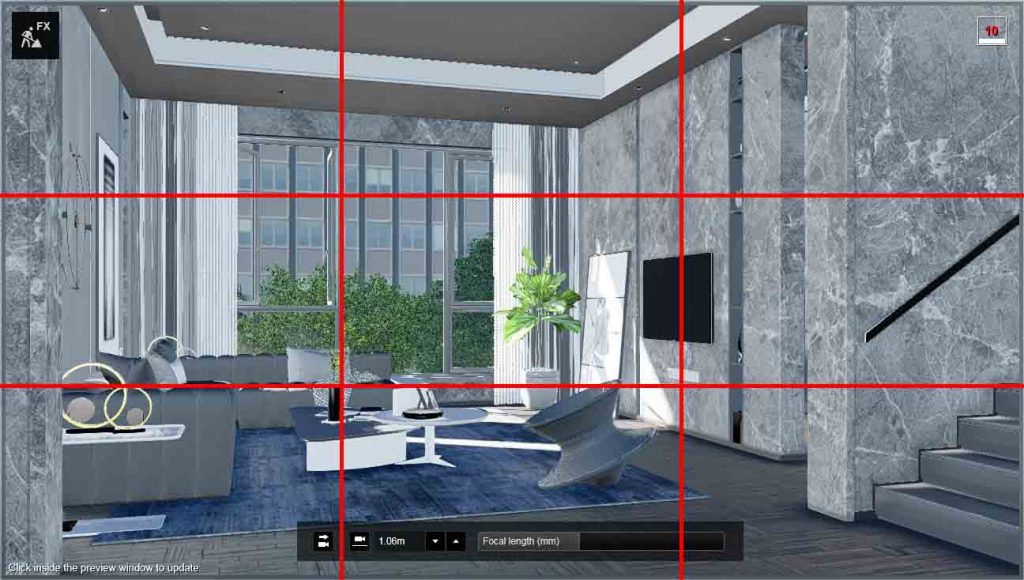
Clicking right mouse button to move the camera target show a screen divide lines, it’s what called in photography Rule Of Thirds.
Those lines allow you to compose the image and take advantage of its potential elements or parts in an interior space or an exterior building.
Default Camera Focal length is 15 mm, it’s not recommend using that value because it give a stretched image. Personally i use 25 mm to 36mm to normal image and go for higher value if i want to take a shot for some elements or decorative set.
For small spaced can take a look on how using Near clipping Fx here
Can read more about the rules of thirds here: Wikipedia , Photography Mad
Render Effects (FX)
Value 0.013
Value 0.12
Sun amount : 30
FallOff Speed : 300
Reduce Spots : 5
Sun Max Effect : 180
Sun height: 30 (depend on your choice)
Sun heading : : 125 (depend on your choice)
Sun brightness : 1.2
All value set to 0
Sky brightness : 1
Overall brightness : 10
Value 0.025
Value 0.55
Temperature : 0.0
Tint : 0.0
Vibrance : 0.0
Brightness : 0.7
Contrast : 0.7
Saturation : 1.0
Gamma Correction : 1.0
Limit Low : 0.025
Limit High : 1.0
Value : 70%
Used Normal
Edited Reflection planes depending on the view
Set to High
Brightness : 1.0
Saturation : 0.5
Enabled other option ( Sky light in planar and projected reflection)
Sun Dhadow Range : 390 m
Coloring : 0.25
Brightness : 0.01
Interior / Exterior : 0.0 (interior)
Omnishadow : 0.4
Shadow Correction : 0.01
Shadow Type : Normal
Activated option Soft and fine detail shadows
Like promised i share for free the link to download the full scene and the effects.
Like mentioned above for 10.5 scene you can’t load it on older version.
- Model from Dat Houzz
- Render Resolution 1920×1080 Time: average 26s
- PC spec: CPU E5-2620, RAM 32Gb, GPU Gtx 1080Ti
Download
Share On
We use cookies to personalize your content and may collect non-sensitive information about your usage. You accept our cookies if you continue. For more information on our data policies, please visit our Privacy Policy.


